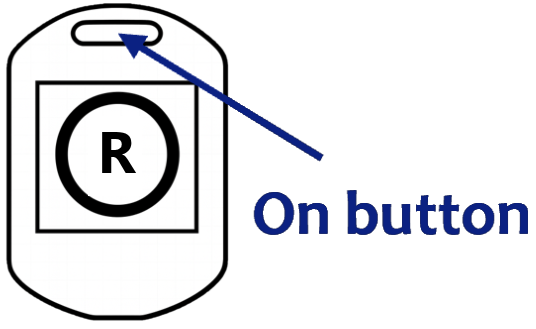

Your sensors are not paired yet
This Jump Tracker is connected, but it is not paired with its partner sensor. Aiving support can pair the correct sensors for you.
We only need the connected sensor ID. We can look up which sensor should be paired with it.
Email Aiving SupportIf the email does not send while connected to sensor Wi-Fi, reconnect to the internet and send it from your mail app.
How to connect to sensor?
Step 1: Turn on both sensors
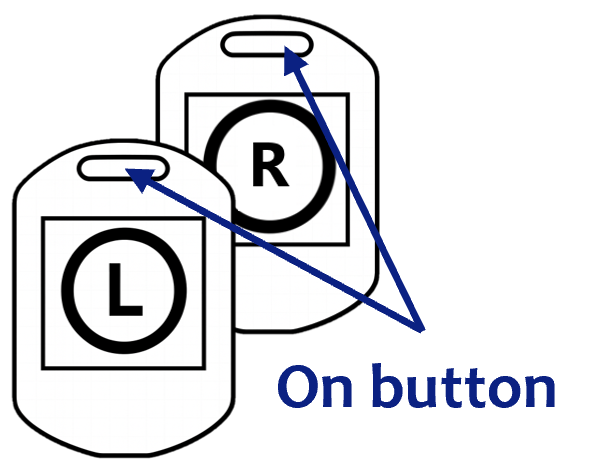
Turn on both the Right and Left sensors.
You should see a light come on both sensors.
Step 2: Put the Right sensor in Configuration Mode
Press the On button on the Right sensor 3 times quickly.
The light should start pulsing ●.
Any color is OK.
Light not pulsing?
No worries, this usually means the 3 presses were not detected.
- Pause for 2 seconds.
- Press the On button 3 times quickly.
- Make sure you feel each click clearly.
- Check that you are pressing the On button on the Right sensor (not the Left).
Step 3: Connect to the sensor Wi‑Fi
On this device:
Go to Settings → Wi‑Fi and join:
XXXXXX matches the number on your Right sensor.
Then come back to this page.
🔍 Connection Status
🔍 Checking for sensor connection...
Still checking? This browser may not detect the sensor connection reliably. Try Safari, Firefox, or Edge.
You're connected — this is here if you still need help.
Try these checks in order:
-
Confirm the sensor Wi‑Fi
Open your Wi‑Fi list and make sure this device is connected to "AivingJumpTracker_XXXXXX".
-
Wait up to 2 minutes
Some devices take a moment before this page recognizes the sensor connection.
-
Try another supported browser
Use Safari, Firefox, or Edge.
- Disconnect from AivingJumpTracker_XXXXXX.
- Reconnect to the internet.
- Open help.aiving.ch in a supported browser.
- Start again from the beginning.
-
Still stuck? Contact usWhatsApp: +41 79 411 68 03Email: [email protected]
Please include your device, browser, and the Wi‑Fi name shown.
Connect to Right sensor to unlock
Manage Phone Hotspots
Connect to Right sensor to unlock
Step 1: Save Phone Hotspots on Right Sensor
Saved Hotspots
Add Phone Hotspot
1. Turn on Phone Hotspot
📱 iPhone Instructions:
- Open Settings → Personal Hotspot
- Turn ON: "Allow Others to Join"
- Turn ON: "Maximize Compatibility" (Important!)
- Note your Wi-Fi password — you'll need it for configuring
🤖 Android Instructions:
- Open Settings → Hotspot & tethering → Wi-Fi hotspot
- Turn on "Wi-Fi hotspot"
- Set AP Band to 2.4 GHz for maximum compatibility
- Note your network name and password — you'll need them for configuring
2. Save Phone Hotspot on Right Sensor
Don't find your hotspot?
Maximize compatibility on your phone hotspot.
Wait a bit and scan again.
Step 2: Send to Left Sensor
Advanced Configuration
For advanced users only. Tune selected sensor settings here.